
Upgrading to spatial audio is no longer just a luxury for audio post-production facilities; it is an absolute necessity. However, designing a Dolby Atmos mix stage is a vastly different architectural challenge than building a traditional stereo or 5.1 surround room.
Because Atmos relies on precise 3D object-based audio, the physical room must perform flawlessly. If the acoustic architecture is compromised at the framing stage, the translation of the mix to theatrical and consumer formats will fail. From exacting geometric ratios and modeling software to strict reverberation limits, building an Atmos room requires specialized design-build expertise.
Here is the ultimate guide to the acoustic requirements, technical specifications, and architectural best practices for designing a pristine, compliant Dolby Atmos mix stage.
The Foundation: Room Geometry and Volume Requirements
Before a single speaker is mounted or an acoustic panel installed, the room's physical shell dictates its potential. Dolby Atmos installations have strict spatial requirements to ensure accurate spatial imaging and avoid destructive room modes (low-frequency resonances that cause bass to sound muddy).
A professional Atmos installation requires a minimum room volume of 50 cubic meters (approx. 1,765 cubic feet). The baseline architectural dimensions must meet:
- Minimum Height: 2.4 meters (approx. 8 feet) from the floor to the lowest overhead speaker.
- Minimum Width: 3.0 meters (approx. 10 feet) between the side surround speakers.
- Minimum Depth: 3.5 meters (approx. 11.5 feet) from the center speaker to the rear surrounds.
Symmetry is non-negotiable. Symmetrical room geometry helps achieve a balanced sound field, preventing any distortions that might arise from asymmetrical reflections.
Avoiding parallel walls during the framing phase is a critical best practice. By splaying the walls and ceiling slightly during initial construction, you naturally reduce standing waves before applying any surface treatment.
Speaker Layout Configurations
The foundation of an Atmos room is the 7.1.4 configuration, seven ear-level speakers, one subwoofer (LFE), and four overhead speakers. High-end theatrical dub stages often scale this up to 9.1.6 or even higher. Whether configuring monitors for traditional professional recording studios or complex multi-channel configurations, architects and acousticians must choose between two primary layouts based on the room's shape.
The Equidistant Layout
This layout is ideal for wider rooms. All ear-level speakers are placed in a circle at an equal distance from the primary mix position. The acoustic center of each monitor sits at exactly the same distance from the engineer, eliminating the need for digital time alignment and resulting in a massive, natural sweet spot.
The Orthogonal Layout
This approach is better suited for deeper, rectangular rooms with a set-back sweet spot. Speakers are aligned in a grid format. Because the speakers are at varying distances from the mix position, this layout requires precise delay compensation via the audio interface so all transients reach the mixer's ears simultaneously.
The LFE and Subwoofer Integration
The Low-Frequency Effects (LFE) channel requires careful placement. Subwoofers should ideally be placed on the floor to improve low-end frequency response via boundary loading. Finding the optimal position requires structural acoustic testing to avoid placing the subwoofer in a null—a dead spot in the room where bass frequencies cancel each other out.

Modeling with DARDT (Dolby Audio Room Design Tool)
You cannot guess where the speakers go. Professional design-build firms utilize the DARDT (Dolby Audio Room Design Tool)—an interactive spreadsheet provided by Dolby—to model the room before physical construction begins.
The DARDT software requires exact inputs of the room's X, Y, and Z dimensions, the chosen mix position, and the specific loudspeaker and amplifier models being used. The tool then calculates:
- The exact physical coordinates and optimal aiming angles (typically 45 degrees for overheads) for every speaker.
- The required delay times for closer speakers.
- The estimated maximum continuous SPL (Sound Pressure Level) to ensure the chosen amplifiers have enough headroom to meet Dolby's strict 85 dB reference level requirements without distorting.
Passing the DARDT modeling phase is a mandatory step for facilities seeking official Dolby Atmos certification.
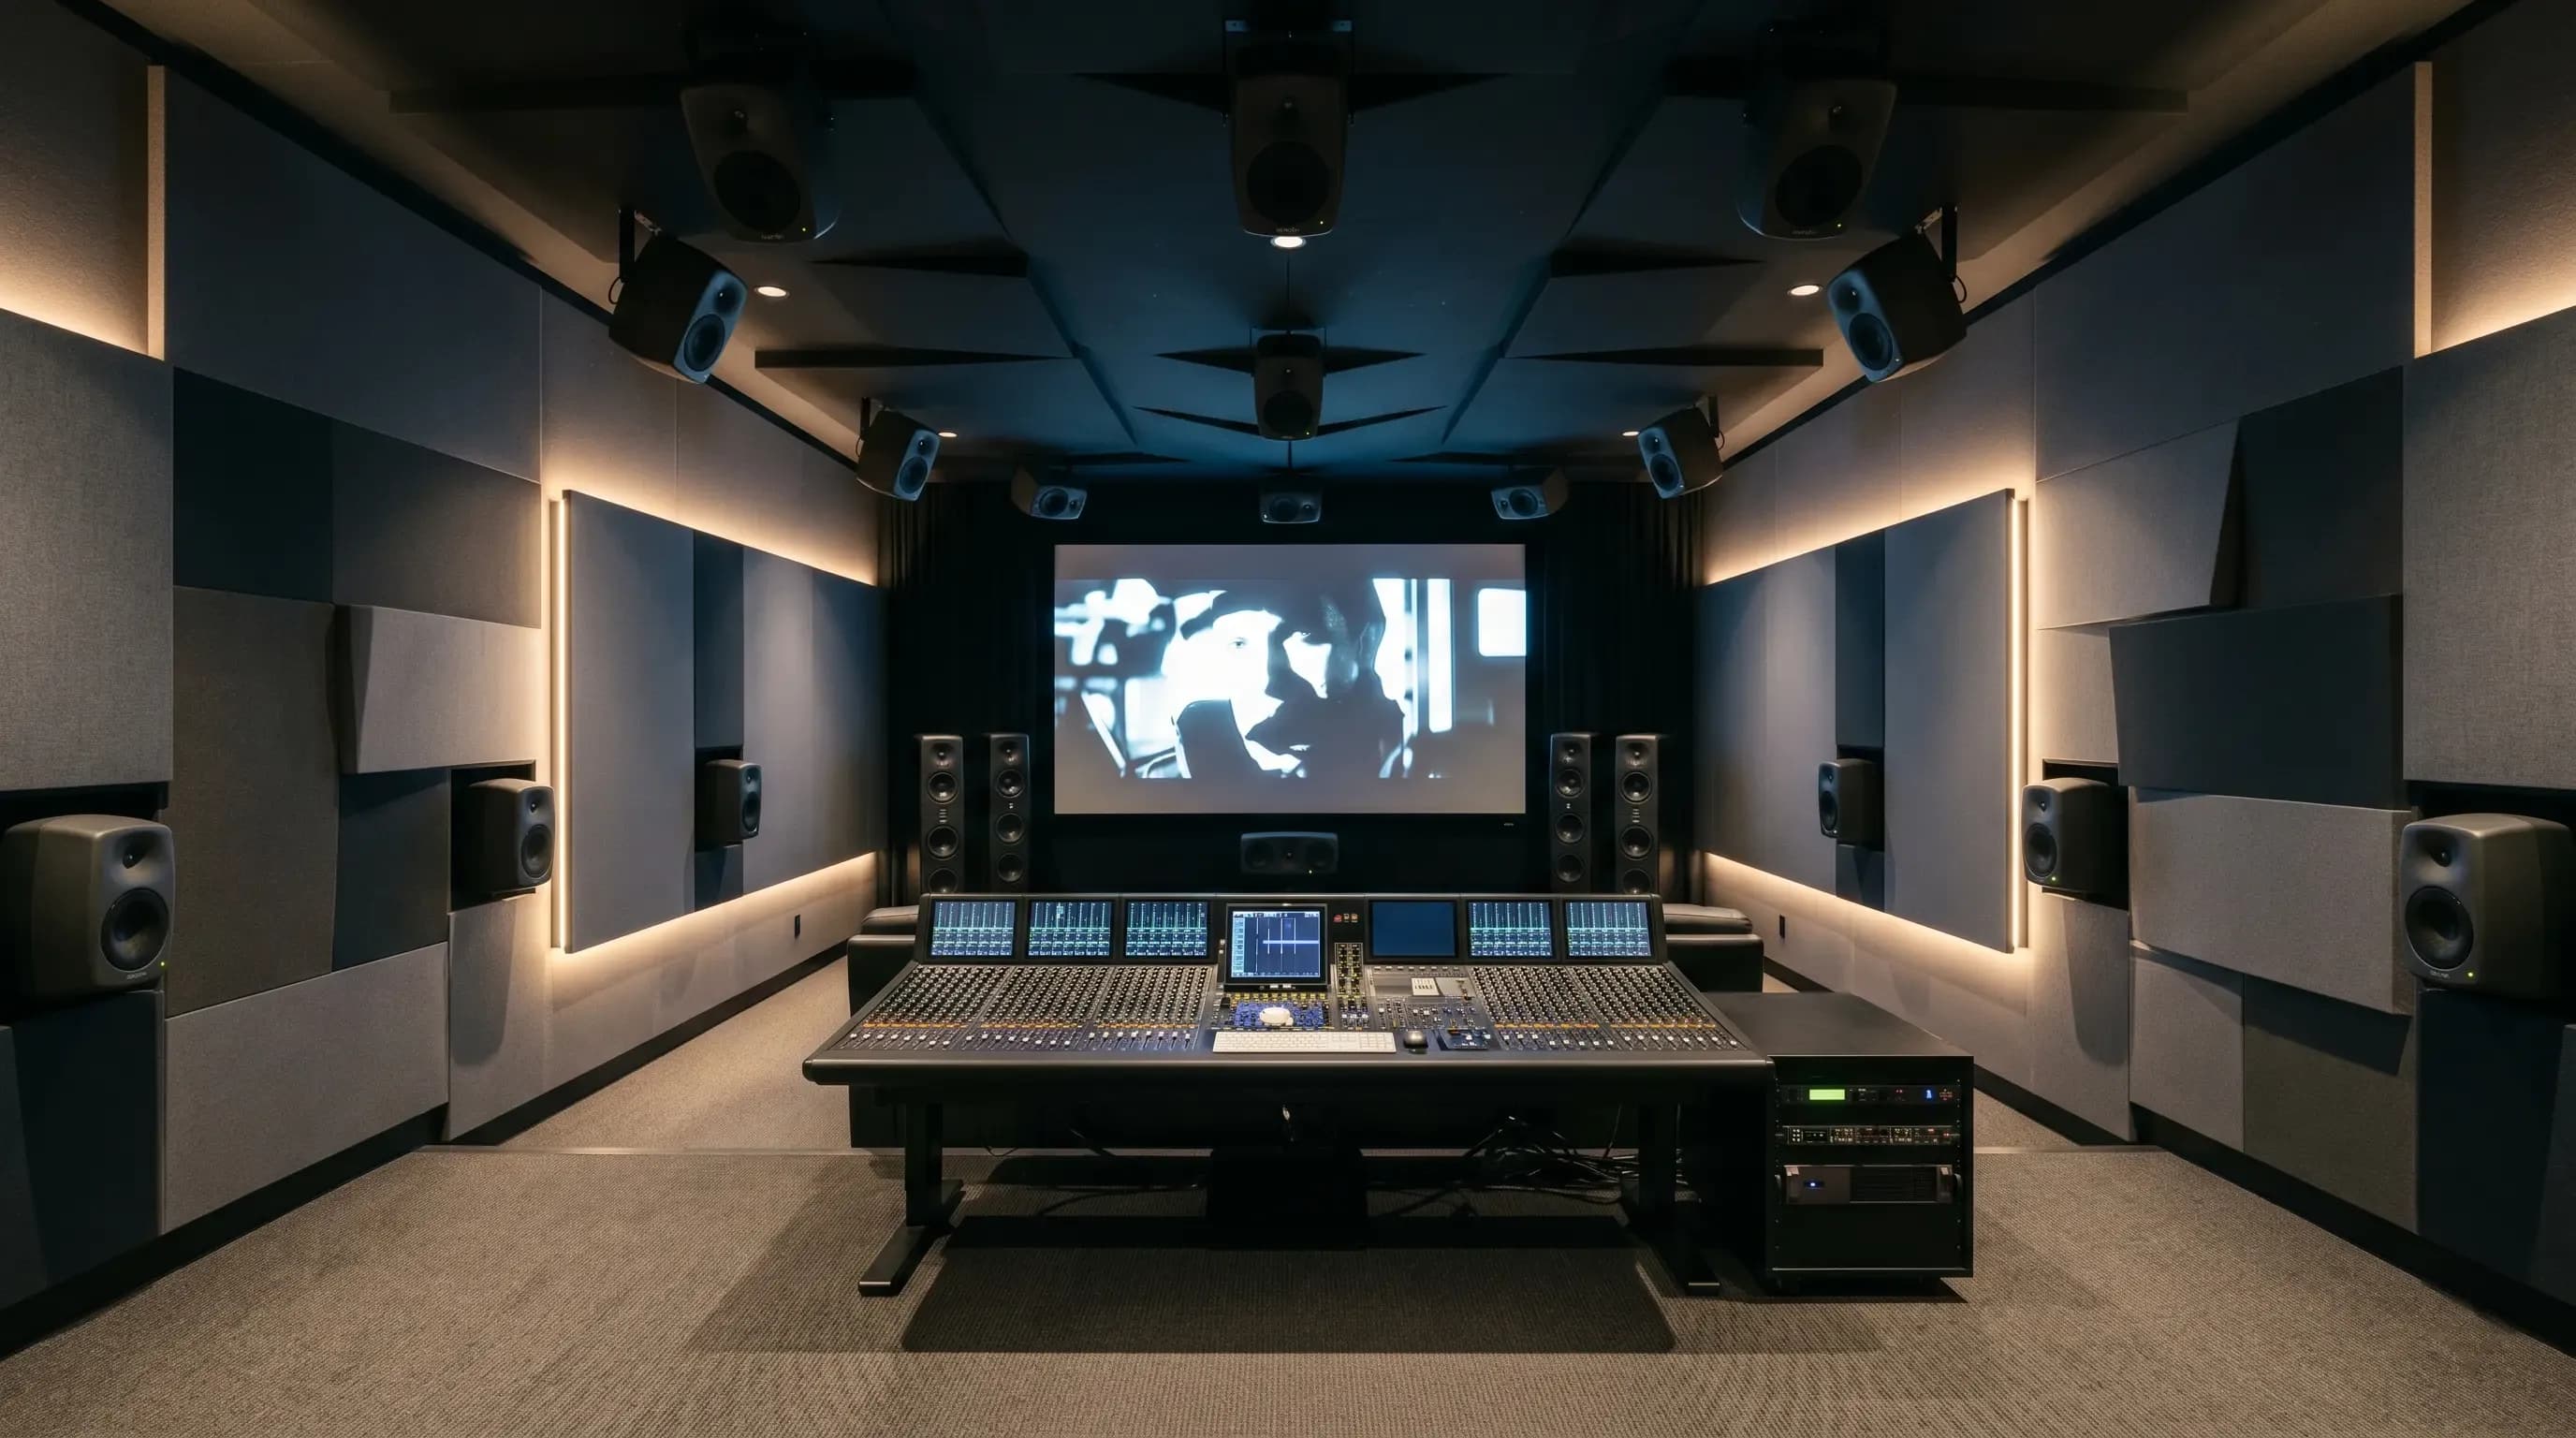
Screen Placement and Acoustic Transparency
In commercial film setups and specialized audio post-production facilities, the visual element dictates front speaker placement. You cannot simply mount Left, Center, and Right (LCR) monitors to the sides or bottom of a massive screen, as the audio will detach from the visual action.
The industry standard is to use an acoustically transparent projection screen.
This specialized woven or perforated material allows the LCR speakers and subwoofers to be mounted in a heavily treated baffle wall directly behind the screen. This ensures that dialogue perfectly matches the actors' faces.
Structural Note: The space behind the screen (the baffle wall) must be deeply treated with rigid fiberglass to absorb low-frequency energy and prevent the screen itself from vibrating sympathetically with the subwoofers.
Mastering Room Acoustics and RT60
In an object-based audio environment, excessive reverberation smears the precise location of audio objects. Achieving this requires a highly engineered acoustic treatment strategy across the entire frequency spectrum to control the reverberation time, specifically the RT60 (the time it takes for sound to decay by 60 decibels).
For small to mid-sized Atmos mix stages, the target RT60 should fall between 0.2 and 0.4 seconds across the entire frequency spectrum. Achieving this requires a highly engineered acoustic treatment strategy:
- Bass Trapping: Heavy low-frequency absorption must be integrated into the corners, ceiling soffits, and the front baffle wall to control massive bass buildup from the LFE channel.
- Broadband Absorption: Placed strategically on the side walls and ceiling to catch first reflections, preventing early echoes from distorting the mixer's spatial perception.
- Acoustic Diffusion: Custom diffusers placed at the rear of the room scatter the remaining acoustic energy. This keeps the room sounding natural and prevents the oppressive, claustrophobic feeling of a completely "dead" room.

Power, Grounding, and Structural Isolation (NC-25)
A professional Atmos mix stage must achieve an ultra-low noise floor, targeting an NC-25 (Noise Criterion) rating or lower. You cannot mix the subtle nuances of a film score or spatial effects if the room's mechanical systems are buzzing.
Achieving an NC-25 environment requires a specialized design-build expertise where isolation architecture prevents flanking paths from ruining the sound stage.
- Decoupling: Floating floors, resilient isolation clips for drywall, and heavily mass-loaded structures are required to prevent outside noise from flanking into the mix space.
- HVAC Integration: Air conditioning must be entirely silent. This requires oversized, low-velocity ductwork lined with acoustic material, and HVAC machinery physically isolated from the studio shell.
Power and Grounding Architecture
An Atmos room requires powering 12 or more active monitors, massive computer rigs, and outboard gear. If the electrical system is not properly designed, ground loops will introduce an audible 60Hz hum into the system. A professional build requires an isolated technical ground (often using a star grounding topology) and a dedicated isolation transformer to ensure clean, noise-free power delivery to the audio equipment.
System Calibration and Tuning
The final step of the design-build process occurs after the paint is dry and the gear is racked. Even with perfect architectural dimensions and acoustic treatments, the room must be digitally calibrated.
Using measurement microphones and software like the Dolby Atmos Renderer, an acoustician will map the room's exact response. They will apply granular EQ to flatten the frequency response of each individual speaker, set the crossover points for the bass management system, and input the precise millisecond delays calculated earlier to ensure absolute phase coherence at the mix position.
Conclusion
Designing a Dolby Atmos mix stage is a highly technical process where architecture, electrical engineering, and acoustics are permanently intertwined. If the physical shell is built incorrectly, no amount of acoustic treatment or digital EQ will fix the resulting low-frequency issues, compromised noise floor, or ground hums.
By utilizing an integrated design-build approach, you ensure that the acoustic modeling matches the structural execution flawlessly. Contact us today to protect your investment, prevent costly contractor tear-outs, and guarantee a world-class, certifiable spatial audio environment.